Atlas · Plate XI · Clinical Services
Instrumentation
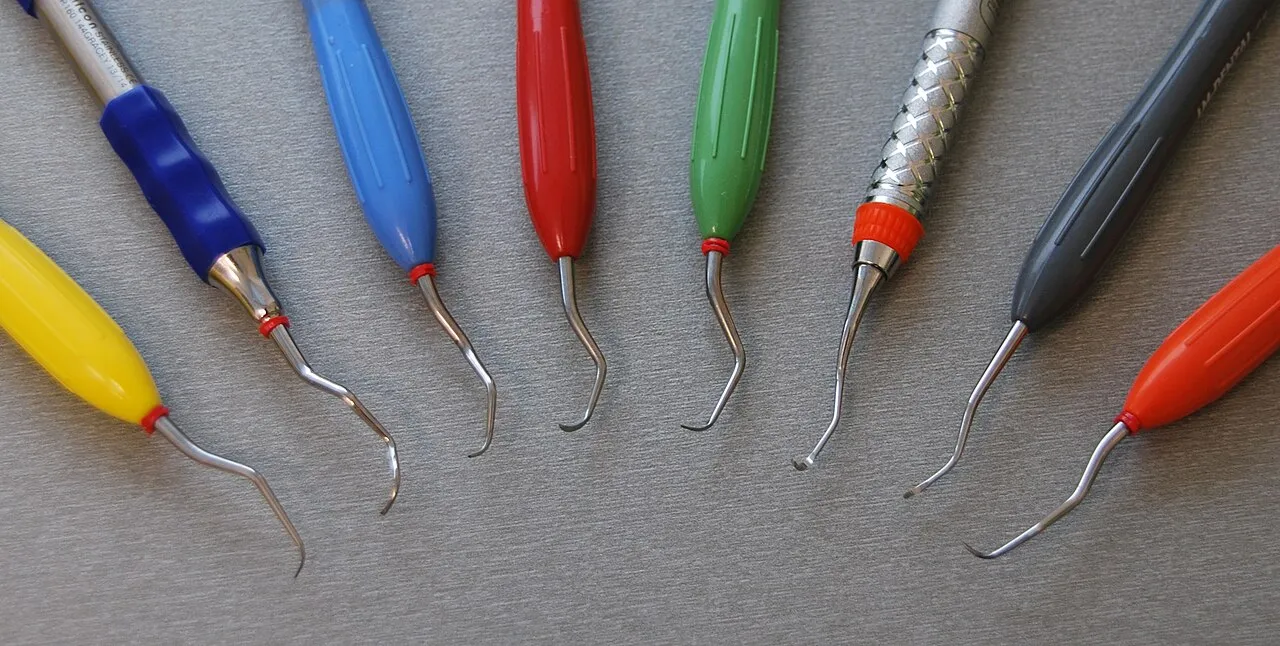
Instrumentation is the hands-on craft of hygiene: choosing the right instrument, holding it, bracing it and moving it so deposits come off without harming the tooth or the soft tissue. It covers ergonomics and clock positions, the modified pen grasp and fulcrums, adaptation and angulation, and the full library of probes, explorers, sickles, universal and Gracey curettes, files, power scalers, sharpening and polishing.
The NBDHE tests instrumentation within periodontal procedures, and case items often ask which instrument or working end fits a given surface. Expect questions on Gracey numbers by area, working angles of 45-90 degrees, magnetostrictive versus piezoelectric units, sharpening angles, and when a power scaler or sodium bicarbonate air polisher should not be used.
Blueprint Provision of Clinical Dental Hygiene Services · Periodontal procedures: instrumentation · 65 facts

In this plate, we cover
- 01 Ergonomics and positioning 6 facts
- 02 Instrument design 5 facts
- 03 Grasp and fulcrum 5 facts
- 04 Adaptation and angulation 8 facts
- 05 Probes and explorers 7 facts
- 06 Sickles and curettes 8 facts
- 07 Files, hoes and chisels 4 facts
- 08 Ultrasonic and piezo scalers 9 facts
- 09 Sharpening 6 facts
- 10 Polishing and air polishing 7 facts
01 · 6 facts
Ergonomics and positioning
Sit with thighs level or slightly down, feet flat, back straight and elbows close at waist height, with the patient's mouth near elbow level. Right-handed clinicians work from about 8 to 1 o'clock. For the maxillary arch the patient lies nearly supine. Poor posture leads to carpal tunnel syndrome, tendinitis and neck and back pain.
- Neutral seated position: thighs parallel to the floor or slightly down, feet flat, back straight, elbows close at waist level, forearms roughly parallel to the floor.T3
- The patient's mouth should be at about the clinician's elbow height.T3
- Right-handed clock positions run from about 8 to 1 o'clock; left-handed from about 11 to 4.T3
- Maxillary arch: patient nearly supine with the maxillary occlusal plane roughly perpendicular to the floor. Mandibular arch: chair back raised slightly so the mandibular occlusal plane is about parallel to the floor when open.T3
02 · 5 facts
Instrument design
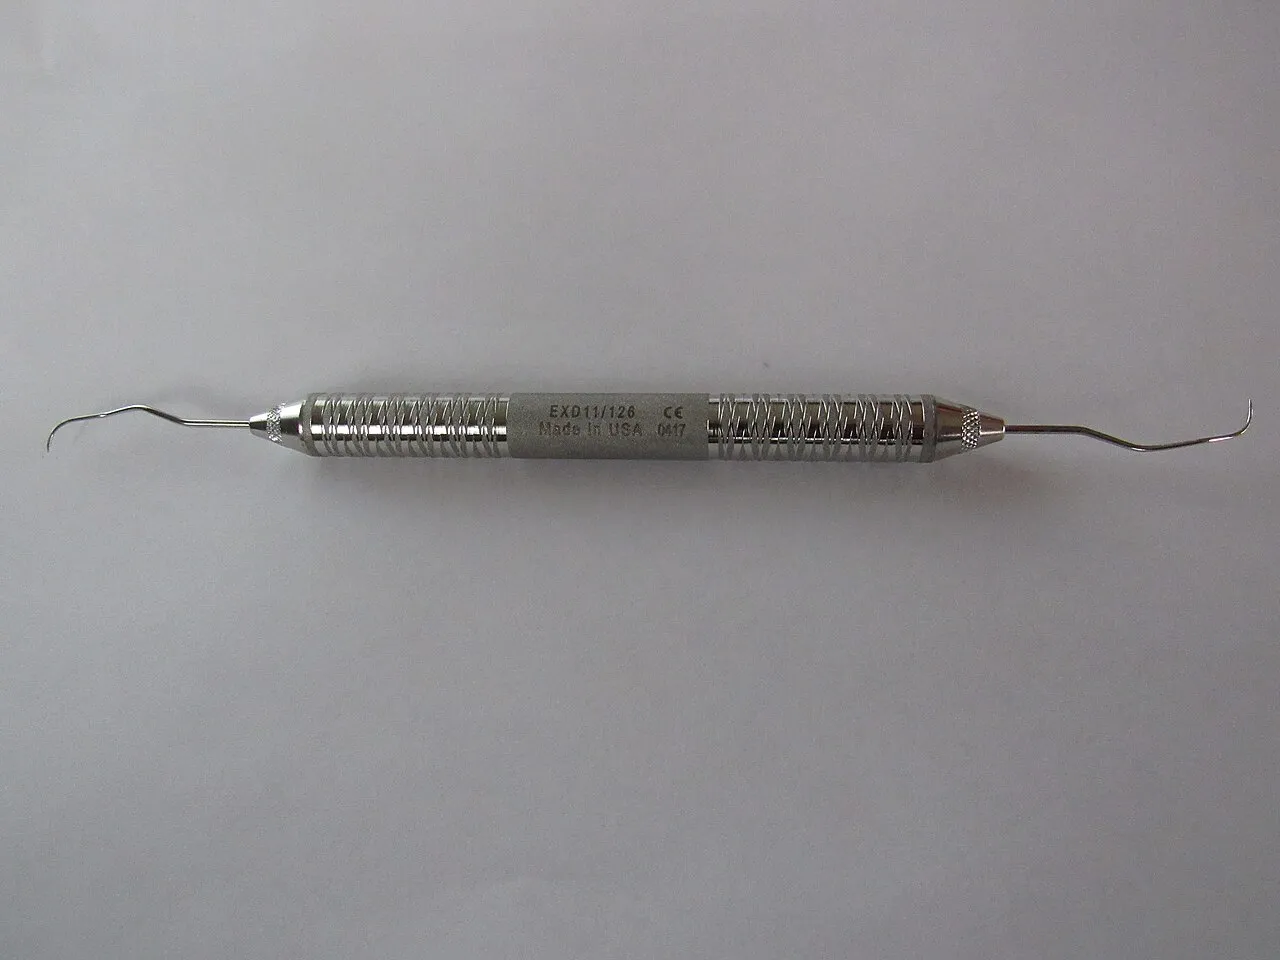
Every hand instrument has a handle, a shank and a working end; the terminal shank is the section nearest the working end. Wide, light, textured handles reduce pinch force. Straight shanks suit anterior teeth and angled shanks reach posteriors. Rigid shanks remove heavy calculus, flexible ones transmit vibration, and a lower shank parallel to the surface identifies the correct working end.
- Instrument parts: handle, shank and working end; the terminal (lower) shank is the part nearest the working end.T3
- Larger, lighter, textured handles reduce pinch force and fatigue.T3
- Simple (straight) shanks are for anterior teeth; complex (angled) shanks reach posterior teeth.T3
- Rigid shanks remove heavy calculus; flexible shanks give better tactile sense (explorers).T3

03 · 5 facts
Grasp and fulcrum
In the modified pen grasp, the thumb and index finger pads oppose each other on the handle, the side of the middle finger pad rests on the shank to feel vibration, and the ring finger is the fulcrum. Fulcrums may be intraoral, cross-arch, opposite-arch, finger-on-finger or extraoral; a stable one prevents slips and powers wrist-rocking strokes.
- Modified pen grasp: thumb and index finger pads opposite each other on the handle, the side of the middle finger pad on the shank, ring finger as the fulcrum.T3
- The middle finger feels vibrations (tactile sense) through the shank.T3
- Fulcrum types: intraoral (same arch, near the tooth), cross-arch, opposite arch, finger-on-finger, and extraoral (palm up or palm down).T3
- Extraoral fulcrums help reach deep maxillary molar pockets.T3
04 · 8 facts
Adaptation and angulation
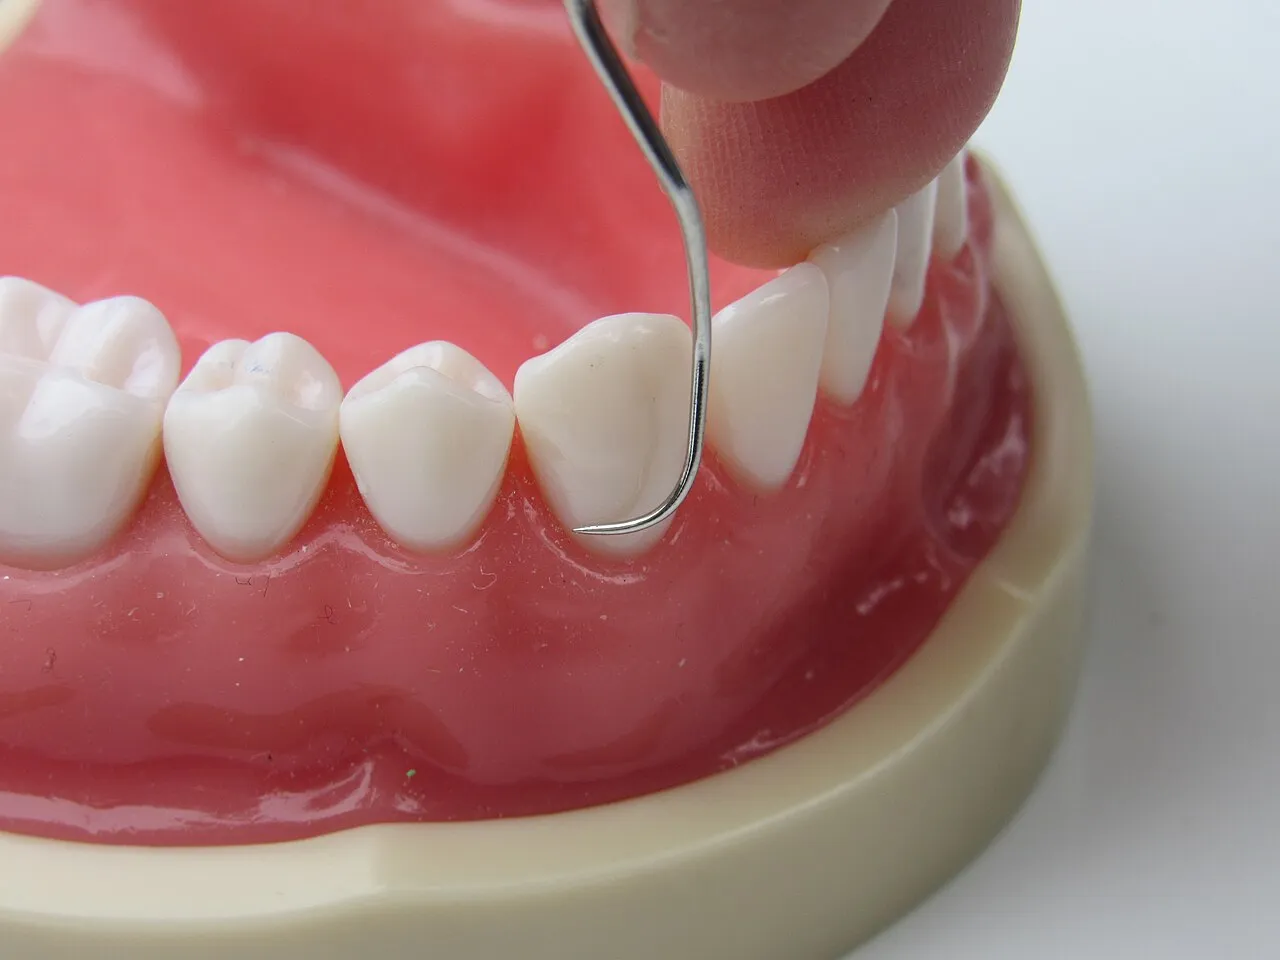
Keep the leading third of the working end against the tooth. Insert the blade closed, near 0 degrees, then open to a working angle of 45-90 degrees, about 60-80 for calculus removal. Below 45 degrees the edge burnishes calculus; above 90 it tears the pocket lining. Strokes run vertical, oblique or horizontal, and posterior teeth are worked from the distal line angle toward the mesial.
- Adaptation: keep the leading third (toe or tip third) of the working end in contact with the tooth.T3
- Insertion angle near 0 degrees (face toward the tooth) to slide under the gingival margin.T3
- Working angle 45-90 degrees; 60-80 degrees for calculus removal; 60-70 degrees for lighter root debridement.T3
- Under 45 degrees: the edge slides over and burnishes calculus. Over 90 degrees: the edge tears the pocket lining.T3

05 · 7 facts
Probes and explorers
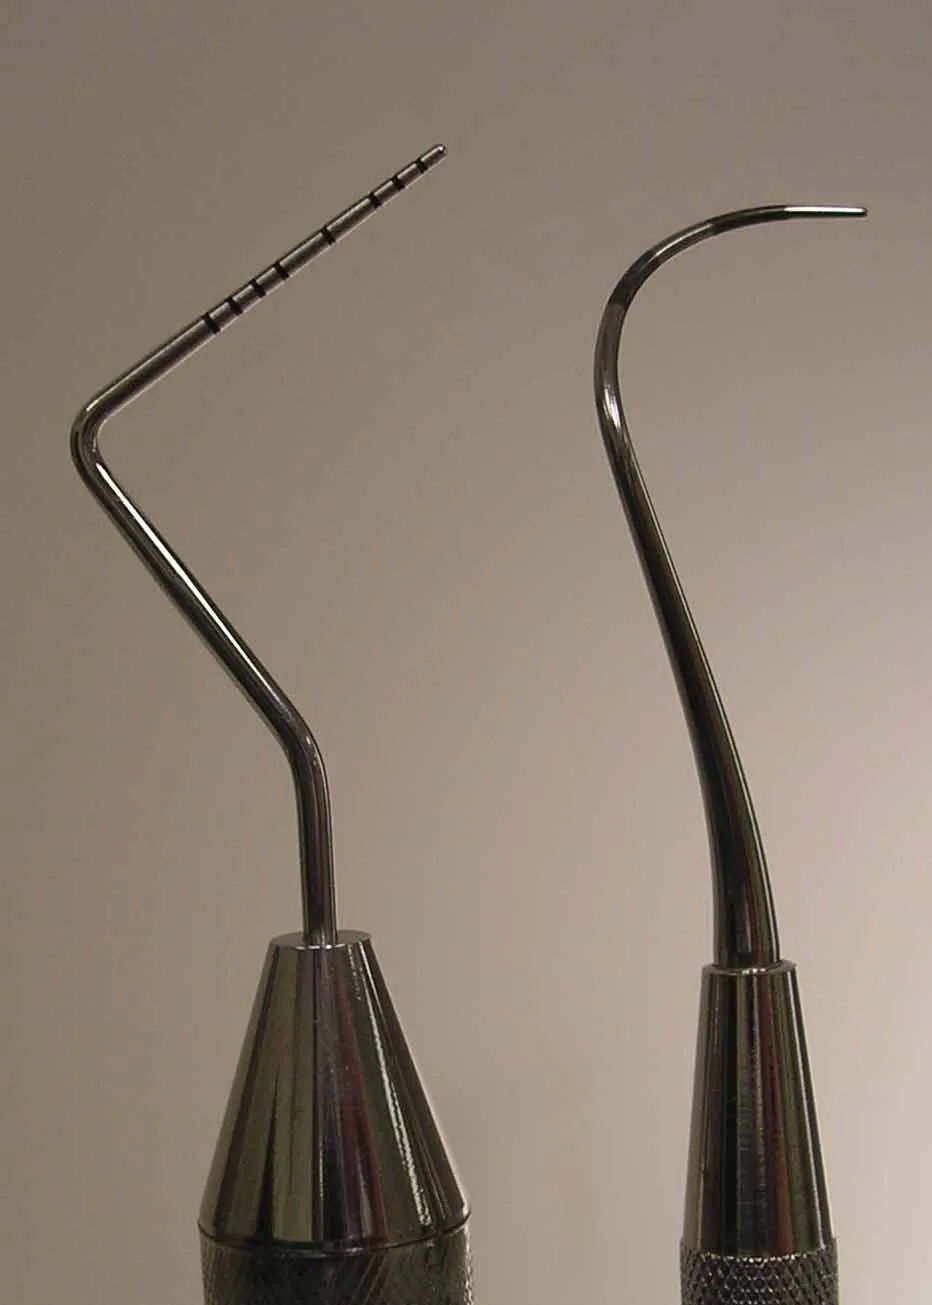
Probes measure pockets at six sites per tooth with light force of about 10-20 g, walking in small steps and tilting slightly under the contact. Designs include the Williams, UNC-15, the curved Nabers for furcations and the ball-tipped WHO probe. Explorers detect calculus and margins: the Shepherd hook for supragingival work, the ODU 11/12 for subgingival surfaces.
- Probe readings are taken at 6 sites per tooth: DF, F, MF, DL, L, ML.T3
- Probing force: about 10-20 g (light); walk in 1-2 mm strokes.T3
- Probe placement interproximally: tilt slightly (about 10-15 degrees) to reach under the contact (col area).T3
- Furcation probing with a Nabers probe: maxillary molars from buccal, mesial (from palatal) and distal (from palatal); mandibular molars from buccal and lingual.T3

06 · 8 facts
Sickles and curettes
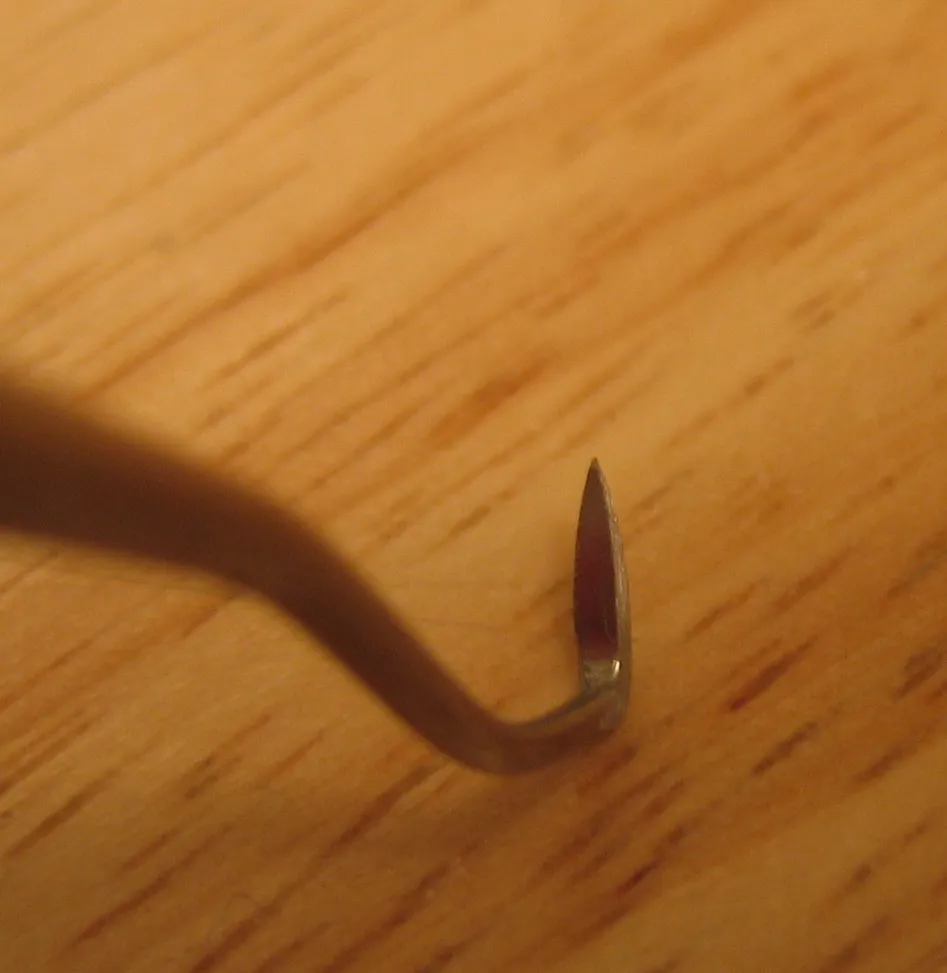
Sickles have a triangular cross-section and a pointed tip, so they stay supragingival. Universal curettes have a rounded toe, a face at 90 degrees to the lower shank and two cutting edges that serve the whole mouth. Gracey curettes have a tilted face and use only the lower edge, and they are numbered by area: 11/12 for posterior mesials, 13/14 for posterior distals.
- Sickle scalers: triangular cross-section, pointed tip, two cutting edges, face at 90 degrees to the lower shank; supragingival only.T3
- Anterior sickles have straight shanks; posterior sickles (e.g., H6/H7, 204S) have contra-angled shanks.T3
- Universal curettes: semicircular cross-section, rounded toe, two parallel cutting edges, face at 90 degrees to the lower shank; one double-ended instrument covers the whole mouth.T3
- Area-specific (Gracey) curettes: face tilted 60-70 degrees to the lower shank, one cutting edge per end (the lower, longer, outer edge), curved blade.T3S59

07 · 4 facts
Files, hoes and chisels
These older instruments are rarely used today but still appear on board items. Files have several cutting edges to crush heavy calculus and smooth overhangs. Hoes have one straight edge at about 100 degrees and need two-point contact with a pull stroke. Chisels have a 45-degree beveled edge pushed from facial to lingual on anterior proximal surfaces.
- Periodontal files have several cutting edges set at 90-105 degrees to the shank; they crush heavy calculus and smooth overhangs.T3
- Hoes have one straight cutting edge at about 100 degrees to the shank; they need two-point contact (blade and shank) and a pull stroke.T3
- Chisels have a 45-degree beveled straight edge and use a push stroke from facial to lingual on anterior proximal surfaces.T3
- Files, hoes and chisels are seldom used today, but they still appear on exams.T3
08 · 9 facts
Ultrasonic and piezo scalers
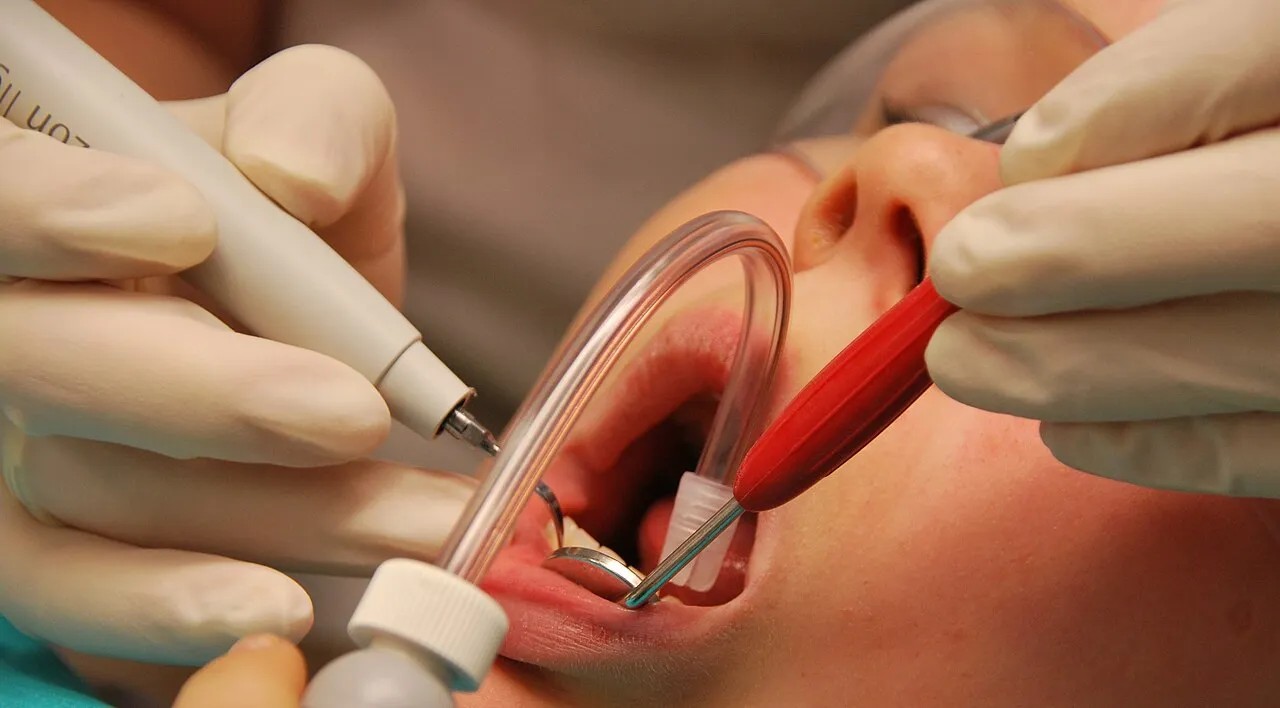
Magnetostrictive units vibrate at about 18,000-45,000 cycles per second in an elliptical path with every tip surface active; piezoelectric units vibrate at 25,000-50,000 cycles per second in a linear path with the lateral surfaces most active. Use the side of the last 2-4 mm with feather-light pressure, never the point. Water cools the tip and flushes the pocket.
- Magnetostrictive units vibrate at about 18,000-45,000 cycles per second (commonly 25 or 30 kHz) with an elliptical (figure-8) tip path; all tip surfaces are active.T3
- Piezoelectric units vibrate at about 25,000-50,000 cycles per second with a linear path; the lateral surfaces are most active.T3
- Use the side of the last 2-4 mm of the tip with feather-light pressure, tip at 0-15 degrees to the tooth, constantly moving.T3
- Never point the tip straight at the tooth (gouging).T3

09 · 6 facts
Sharpening
A dull edge reflects a line of light and slides on a plastic test stick. With the moving-stone method, hold the stone at 100-110 degrees to the face to keep the 70-80 degree internal angle, and finish on a downstroke to avoid a wire edge. Sharpen both edges of sickles and universal curettes but only the lower edge of a Gracey.
- Sharpen when the edge becomes dull; a dull edge reflects light (a shiny line) and slides on a plastic test stick.T3
- Moving-stone technique: stabilize the instrument and move the stone; aim for a 100-110 degree angle between the face and the stone, giving a 70-80 degree internal angle.T3
- End with a downstroke to avoid a wire edge.T3
- Sharpen Graceys on the lower cutting edge only; sharpen both edges of sickles and universals.T3
10 · 7 facts
Polishing and air polishing
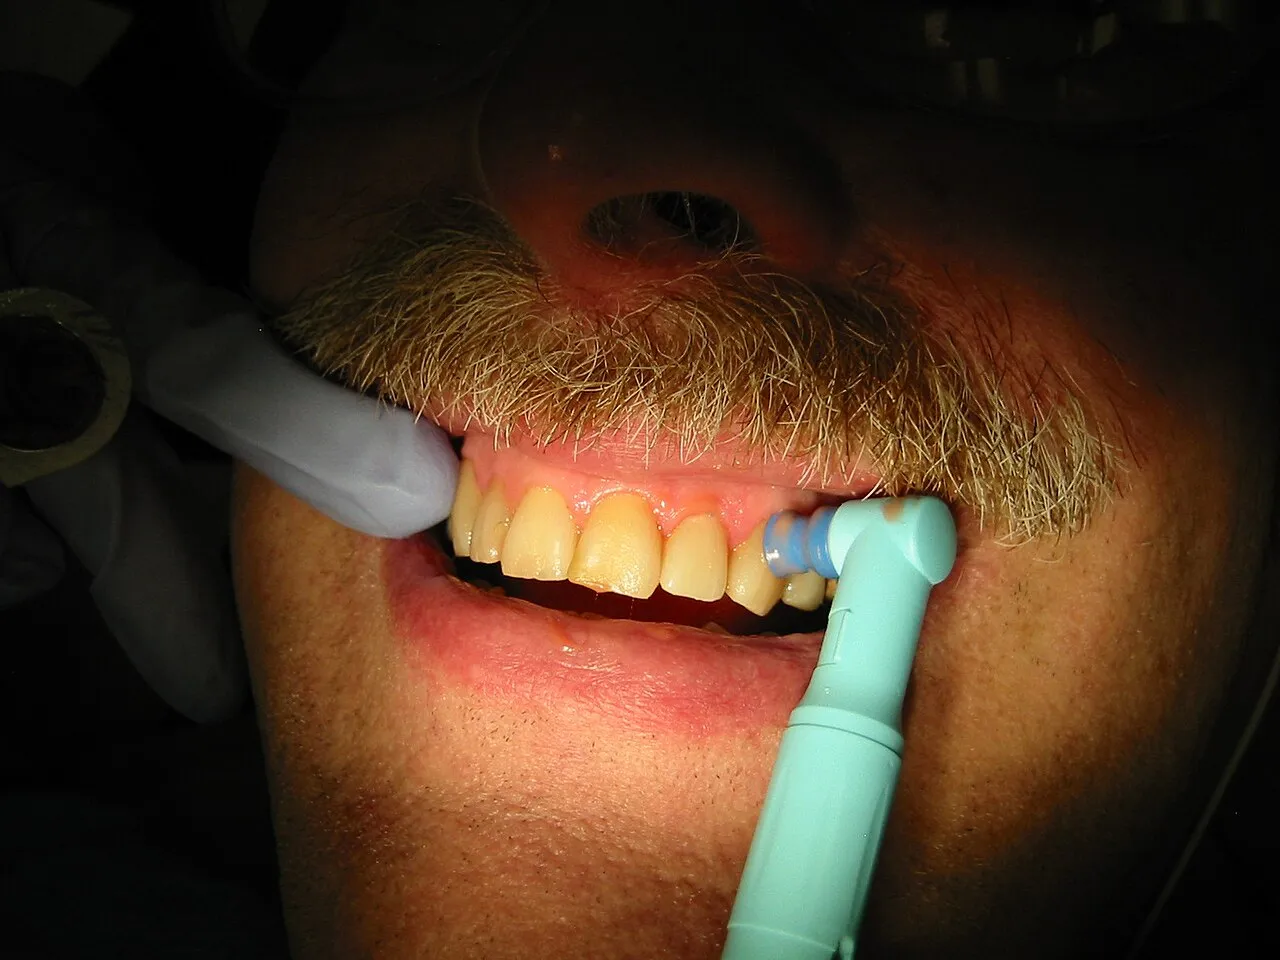
Polish selectively, only where stain remains, using the least abrasive paste at low speed with light, intermittent pressure. Coarse pastes damage composite, porcelain, gold and titanium. Sodium bicarbonate air polishing is contraindicated with sodium-restricted diets, hypertension, respiratory and renal disease, while low-abrasion glycine and erythritol powders are safe on roots and implants.
- Selective polishing: polish only teeth with remaining stain, after scaling, using the least abrasive agent that works.T2
- Polish at low speed with light, intermittent pressure; flare the cup slightly into the sulcus; keep it moving to avoid frictional heat.T2
- Abrasiveness rises with particle size, hardness, pressure, speed and dryness.T2
- Avoid coarse pastes on composites, porcelain, gold, titanium, demineralized areas and newly erupted teeth.T2

Watch